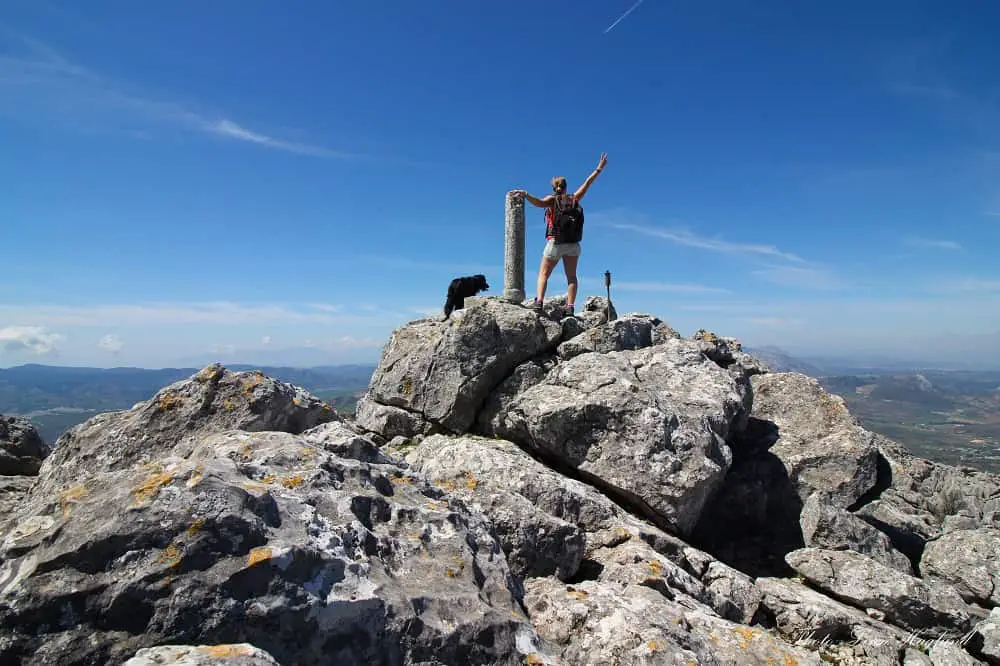
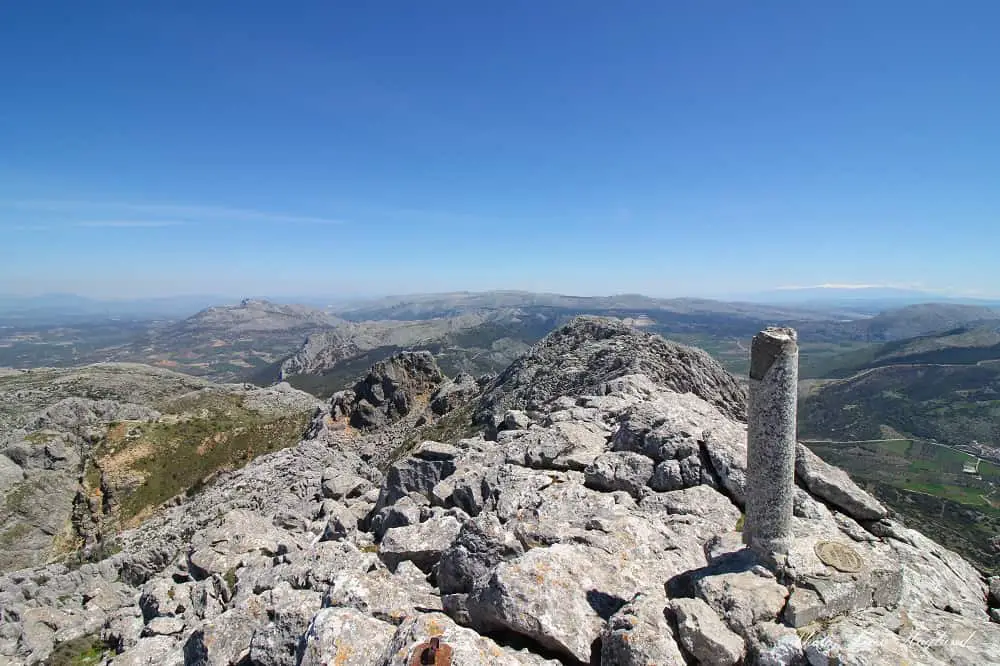
If you’re up for a bit of a light scramble and don’t mind a steep ascent to enjoy breathtaking views without the crowds, then you have to add Pico Chamizo to your Malaga hiking bucket list! The rocky ridge is said to be among the highest in the province of Malaga, yet not close to La Maroma (2066m), Torrecilla (1919 m), Navachica (1831m), and a few others.
For such an iconic peak, it’s surprisingly little traffic up there. The difficulty level might be to your benefit because there’s nothing like enjoying a peak without standing in a queue to get that selfie to document you made it to the top.
Even if you’re hiking solo, you can easily take selfies up there as there are plenty of places to leave your camera with the self-timer.
I’ll go through everything you need to know to hike Pico Chamizo in this post so that you can enjoy these mesmerizing views and a fun hike too.
Disclosure: This post may contain affiliate links. That means that if you make a purchase through one of those links, I will get a small commission at no extra cost to you. As an Amazon Associate, I earn from qualifying purchases.
I’m Linn Haglund, the face behind Andalucia Hiking. I’m an avid hiker and after calling Andalucia home for over 10 years, I’ve covered my share of peaks, ravines, rivers, and valleys across all 8 provinces. I’m here to help you navigate this incredible region with thorough hiking guides, hiking tips, and gear recommendations.
Table of Contents
Practical information
- Province: Malaga
- Length: 8 km
- Time: 4-5 hours
- Altitude: 1641 m
- Elevation: 630 meters
- Route: Circular
- Difficulty: Difficult
- Hiking season: September to mid-June
- Hiking with dogs: You can hike with dogs, but there are no natural water sources, so bring extra water for them. There is a short stretch of pine forest, though there were no pine processionary caterpillars or nests in the trees the last time I went there in the spring of 2021. The pines seemed to be harmed by foraging from previous years, so they might come back once the trees recover. There is a way to dodge the pines, though by turning back on the track before the pine forest on the way back, so if you see signs of nests when hiking between January and summer, you can make your way safely to the track and follow it back to the car.
How to get to Pico Chamizo
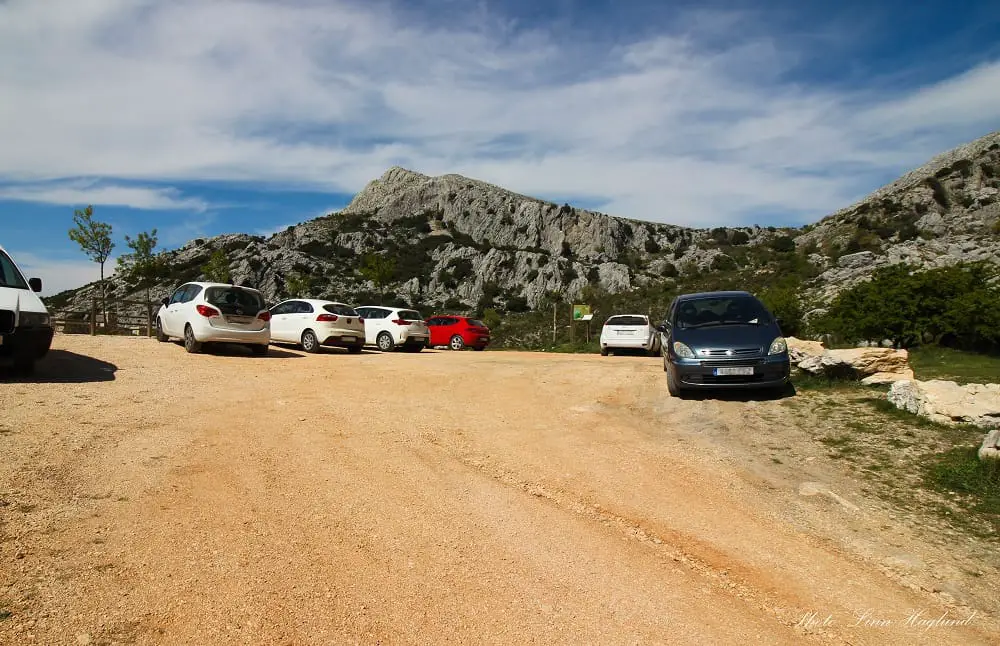
The hike to Pico Chamizo starts at Mirador del Alto de Hondodero. You can plot this straight into your GPS. If not, there are signs to the viewpoint from the village of Villanueva del Rosario.
Coming from Malaga, you turn right just before a bridge that takes you into the village. Follow this road straight up, it will eventually turn into a dirt track that you need to follow until the end. Park at the viewpoint and follow the hiking signs just beside the deck.
Without a car, you’ll need to hike from Villanueva del Rosario to the viewpoint which can add an additional 3 hours to your trek.
There are a minimal number of buses from Malaga that take 3,5 hours. You can find the timetable here.
From Granada, the bus takes 1 hr 10 min to 1 hr 20 min. Check out buses here.
What to bring
Before heading out on your hike, you should always check the weather forecast as this is not a peak you want to attack when it’s foggy or rainy.
However, be aware that the weather forecast in Villanueva del Rosario can be quite different than what you actually meet when you get up to the trailhead, it’s happened to me several times. And if you see that there’s no visibility or the wind is too heavy, there are plenty of other routes you can take in the area instead.
As the weather can change quickly and the peak can be exposed to wind, make sure you bring enough layers in your day pack so that you’re prepared for any surprises throughout the hike.
This is also a hike that’s mostly exposed to the sun on a clear day, so you need to prepare for hiking in the heat too.
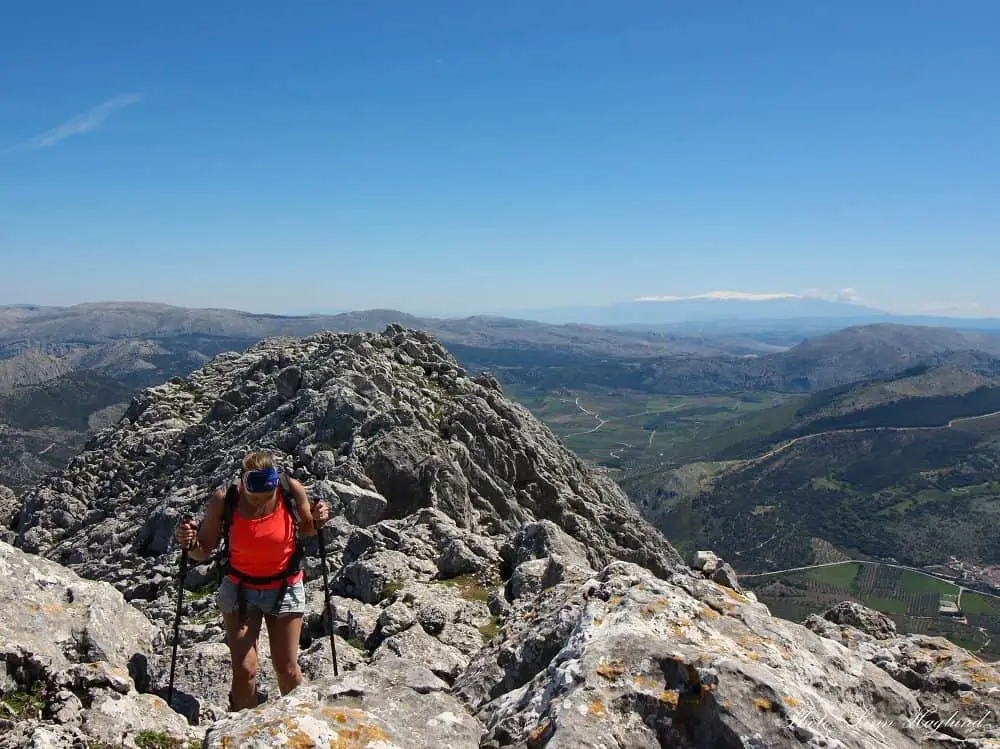
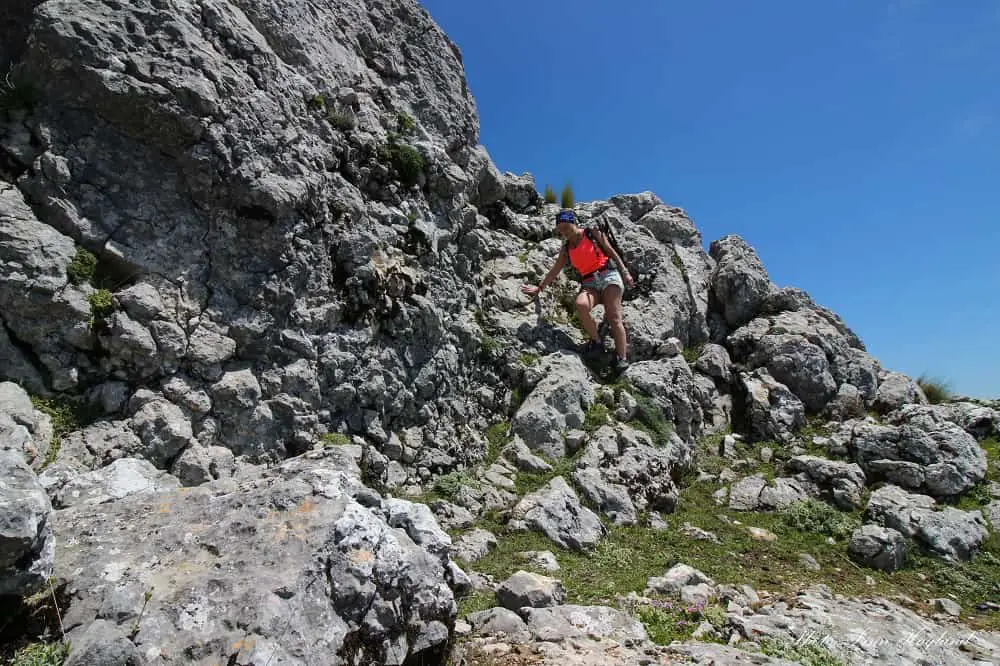
Additionally, this is a very steep hike and before you start the scramble to the top there is a long near vertical path you need to ascend.
It’s slippery.
Make sure you have good hiking shoes with good grip.
I’ve done this hike both with and without hiking poles and I highly recommend bringing them! It gets very tricky without, though it’s absolutely doable. You might also have use for knee braces if you tend to get a hiker’s knee on steep descents.
You can check out my top recommendations for hiking gear here.
Here are the things you should bring when hiking Pico Chamizo:
- Water (a lot!)
- Hat/caps
- Sunscreen
- Windbreaker
- Shorts/hiking pants (bring with you what you don’t wear in case you need to change)
- Hiking poles
- Lunch
- Snack (nuts, dates, fruit, seeds, etc)
- Camera
- Good hiking shoes/boots
Where to stay
When hiking El Chamizo, the best place to stay is in or around Villanueva del Rosario, the white village at the foot of the mountains. Here are some of the top choices.
Hotel Fresneda María
This wonderful hotel is situated in the olive groves 4,5 km from Villanueva del Rosario and is perfect if you drive. The establishment has an outdoor pool with mesmerizing views. There is both a bar and a restaurant there too so you can relax after the hike.
Book here
Venta Las Delicias
If you come by bus or want to stay centrally, this is a traditional option in Villanueva del Rosario. There is a restaurant and bar on the premises with breakfast.
Book here
Make sure you always follow the Leave No Trace Principles when hiking. You can read more about them here.
Hiking Pico Chamizo
Pico Chamizo is a hike that can be hard to follow at times, relying on cairns and following weak trails. I’ll try to explain the route as best as I can to give you some hints to follow along the way so you don’t get lost. I’ve divided it into the ascent, the ridge, and the descent.
The ascent to El Chamizo
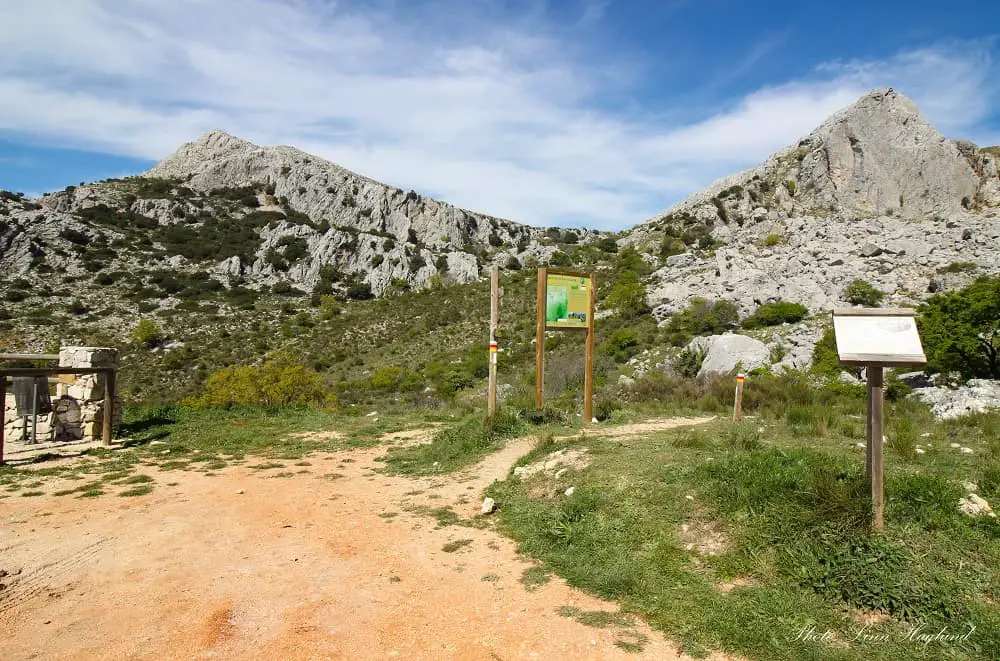
At the time of writing this, there are no signs indicating Pico Chamizo. From the Mirador del Alto de Hondonero, there are trail signs to Sendero de Hondonero. Follow these.
After a short walk, you’ll get to a gate with another set of signs. Keep walking on the trail you’re on (do NOT enter the gate.)
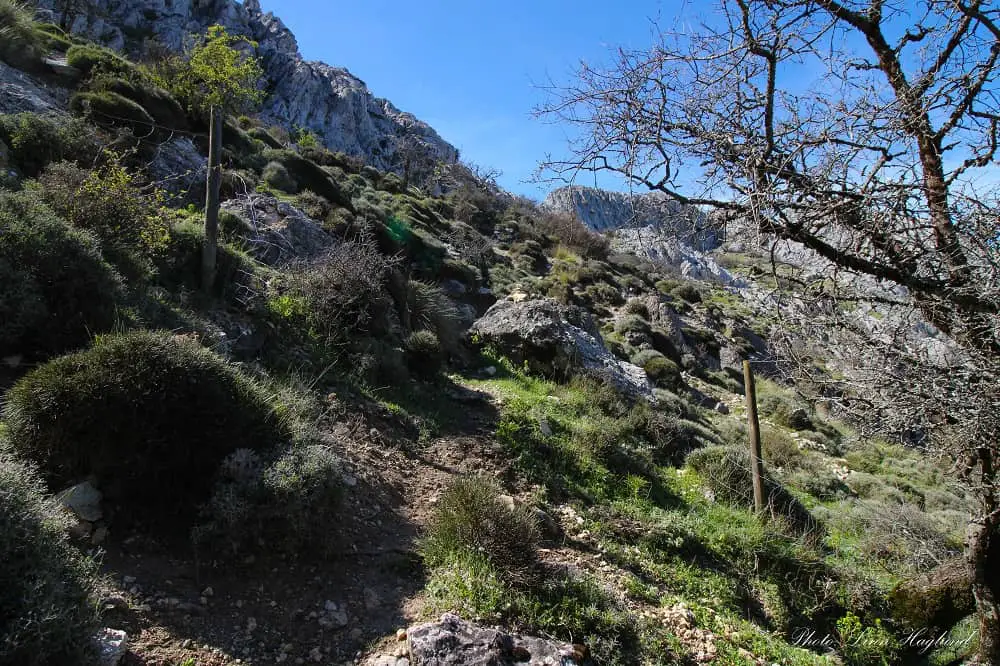
The path soon goes through a rocky area before it winds a bit towards the right through some trees and out on an open area. You’ll find yourself in front of the mountain with the option of turning left or right. Turn left.
This path gets steeper and steeper and soon follows a fence on your right side. Follow the fence until there is an opening where you can walk to the right. Be aware that people have forced the fence a couple of places, but these are not the right places to turn.
The correct turn is a clear gap in the fence that has not been bent to enter.
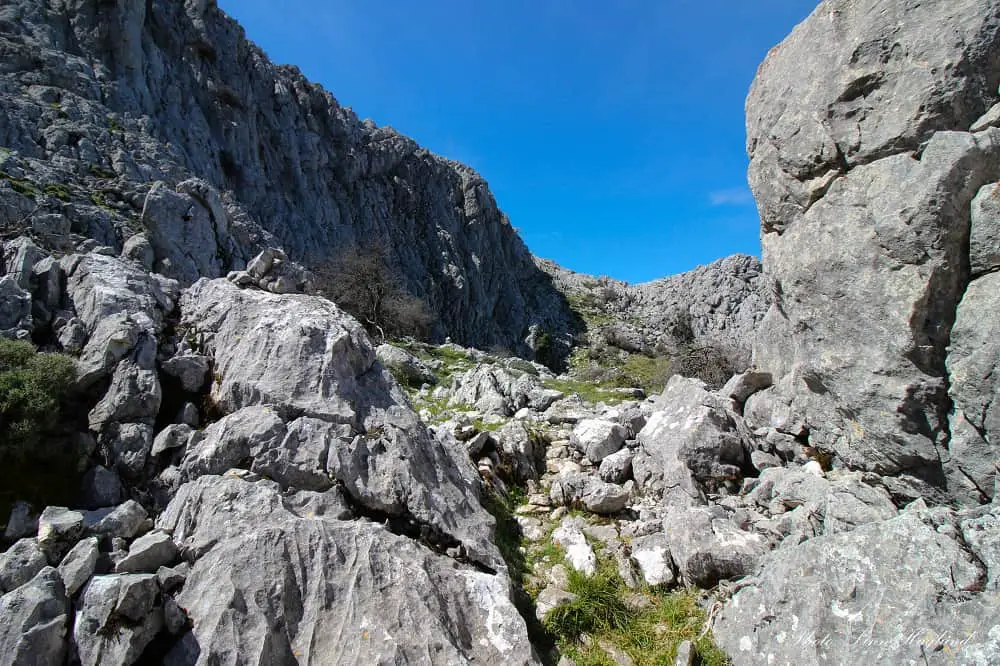
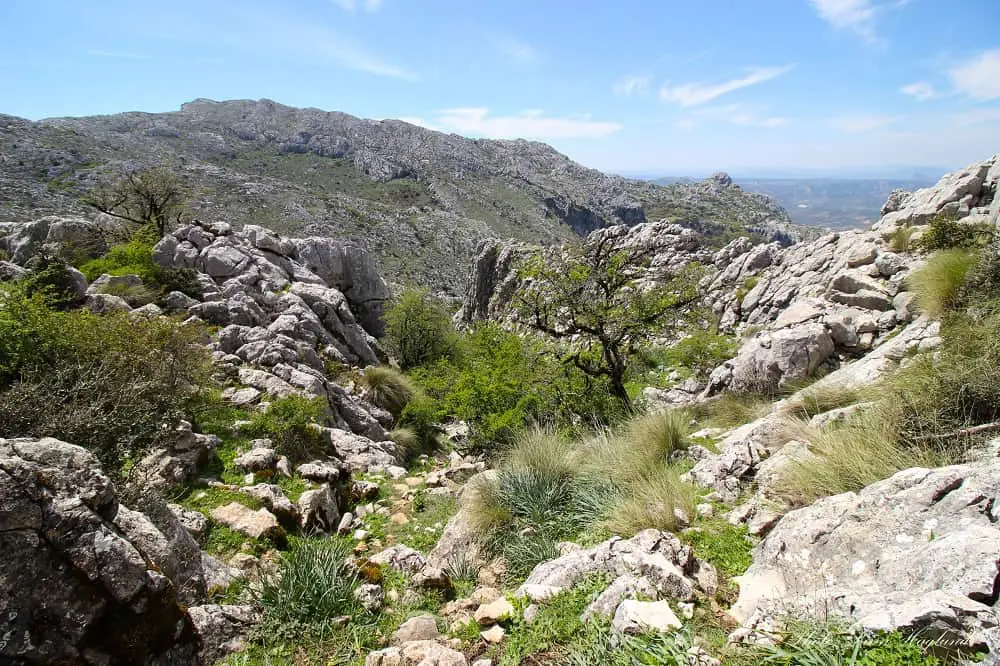
Once you turn right, follow the side of the rock wall until it opens up a bit. This is where it gets tricky to follow the path. There are a couple of cairns if you look closely. You’re heading towards the trees on the right-hand side. There is a mini ravine with two old trees leading the way where you’re walking through.
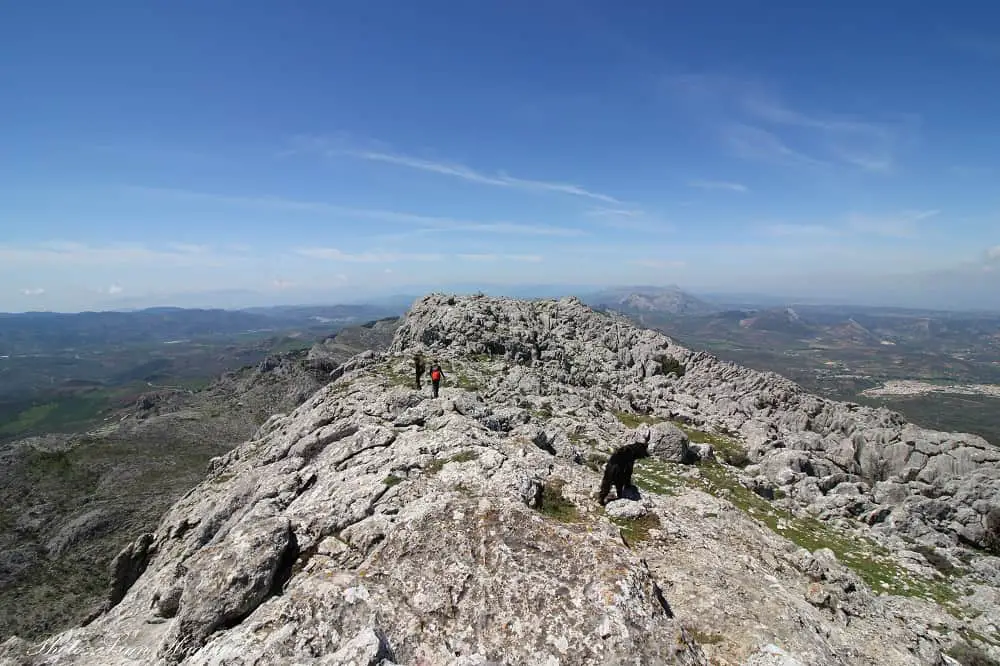
Passed this section, it’s an easy scramble ahead of you and you’ll soon see the top of Pico Chamizo.
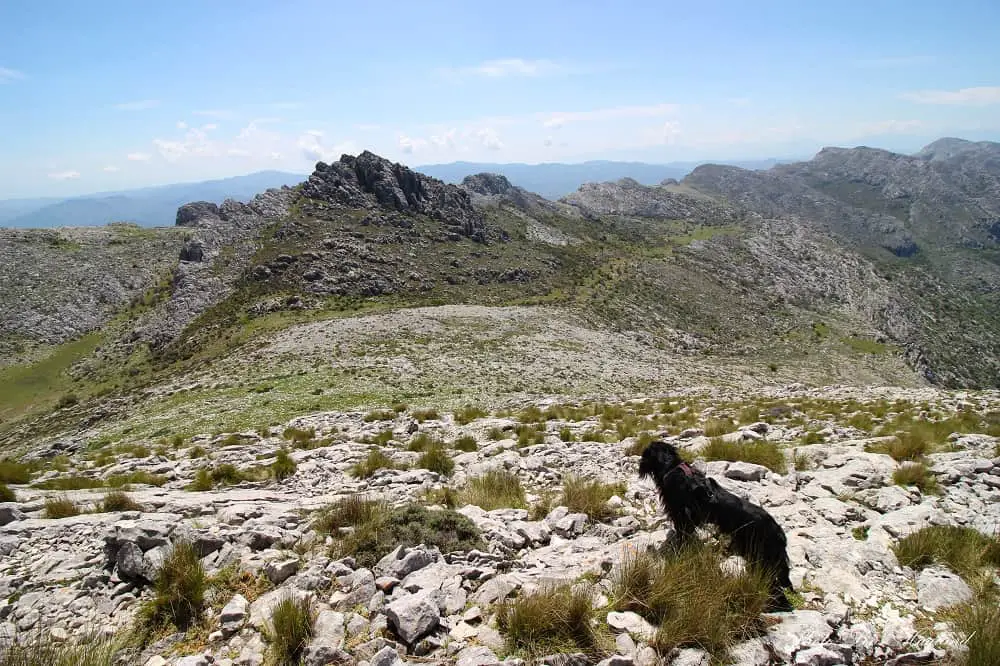
The ridge
When you arrive at the top, you’ll see the ridge continuing after the peak itself. You need to continue along the ridge or walk on the right side. There are cairns, but in some places, they are far between. I’ve always walked around on the right side to avoid the top of the ridge here.
However, you’ll get forced up on the top after a bit before you can walk along the right side again. There are sections where you need to be careful of your step as it’s steep down on the side, but it’s fairly easy to get by.
Towards the end of the ridge, the cairns will take you over to the left where you start the descent. Do your best in following the cairns here as it makes the scramble down easier.
Once you’ve started the descent, you’ll notice a trail below the mountain in front of you on the left side. Whenever you lose track of the cairns, aim for that trail as that’s where you’re going.
The way back
Once you reach the trail, keep walking until it forks. Choose the right trail and continue on this. You’ll cross an open space where the path becomes weaker. After a while you’ll see a mega cairn indicating you’re on the right track. There are no other indications, so just keep following this path.
At one point the trail goes under a couple of trees where you better take off your backpack to crawl under (I brought with me a huge branch that got stuck in my hiking poles at the back of my pack – I regretted not taking it off!)
You’ll continue down a steep section that goes along the mountain before you get to a fence with a gate. Make sure you close it again after passing.
Now the trail winds down towards the right and you’ll cross some semi-open landscapes and pass a drinking well for animals. Soon you’ll see the dirt track that you drove up to the starting point.
Dodging a pine forest on its right, the path continues in parallel with the track below you. Shortly after, you’ll get to a junction where you can walk out to the track. This is the last pine forest by the track and if you hike with dogs and have seen pine processionary caterpillar nests, I suggest you try to get out here and walk the last kilometers on the track.
The trail back to Mirador del Alto de Hondonero continues, now ascending again, parallel to the track through a pine forest before you see the viewpoint on the left.
Reflections on Pico Chamizo hike
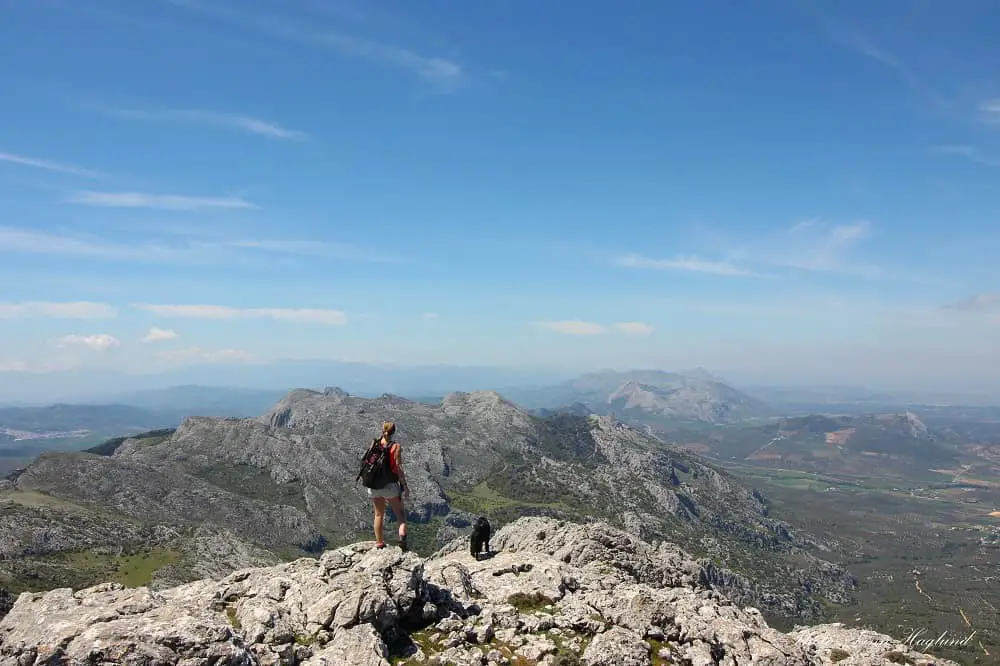
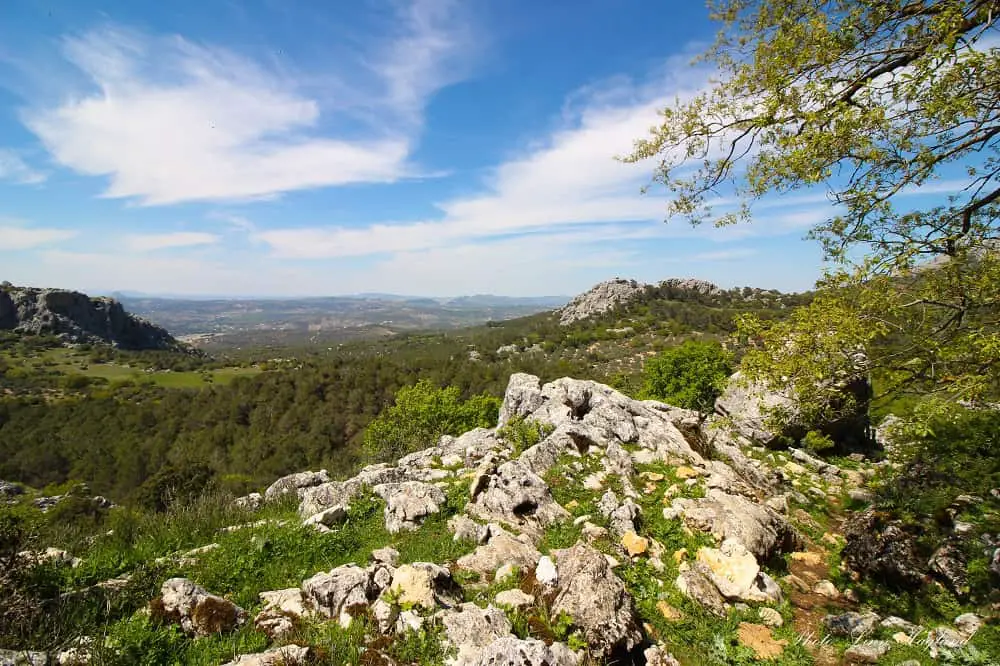
Pico Chamizo is definitely one of my favorite hikes in Malaga. It’s just enough challenging but not scary, while it has breathtaking views.
On top of that, it’s actually a hike I can do with Ayla the whole hiking season as there are not many pine trees. And as mentioned before, there haven’t been any caterpillars there lately.
However, this is a peak you need to be prepared to do and absolutely no beginner hike.
Happy hiking!
Other similar hikes in Andalucia: